I can guarantee you that at some point you will have to remove a tyre... punctured tubes are perhaps the most common mechanical mishap, and tyres wear out over time warranting replacement. Furthermore, you might feel the need to change wheels sometime - perhaps an upgrade to a lighter, better set of wheels or a replacement because your old rim has had all the life dinged out of it. Whatever the reason, it's important to know how to change a wheel and/or tyre, so here's a guide showing you how.
 |
Step 1. Photo by Steven Rummukainen |
1. Remove your wheel from the bike. Depending on your axle, you may need some basic tools like allen keys of a wrench, but most axles are quick release.
 |
| Step 2. Photo by Steven Rummukainen |
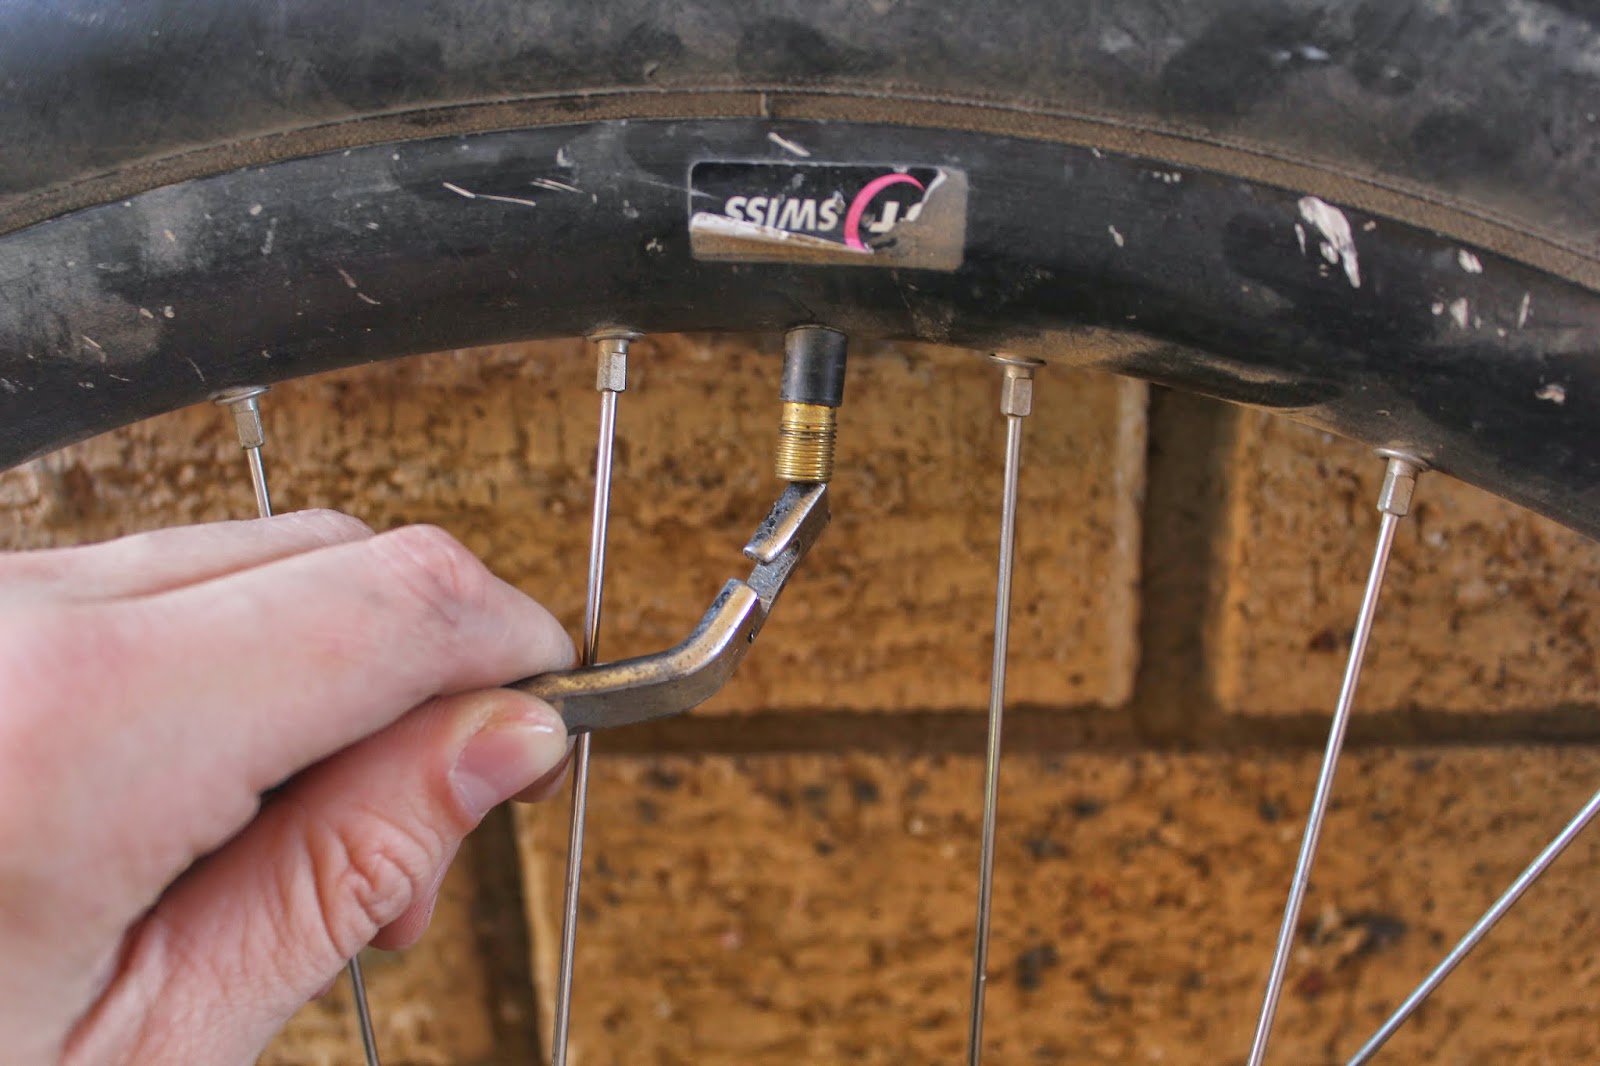
2. With the wheel removed, let the air out of the tyre. This is done by pushing down the little protruding piece of metal inside the valve. You can use a tyre lever, screwdriver, allen key or anything else that fits into the valve.
 |
| Step 3. Photo by Steven Rummukainen |
3. Remove your disc brake rotor from the hub. The disc is mounted by 6 torx head bolts, and simply undo these to remove the rotor.
 |
| Step 4. Photo by Steven Rummukainen |
4. Grab some tyre levers and wedge them in underneath the bead of the tyre. Once you have one lever underneath the bead, lever the tyre off and hook the lever onto a spoke. Work your way around the bead with another tyre lever until you can remove the tyre by hand.
 |
| Step 5. Photo by Steven Rummukainen |
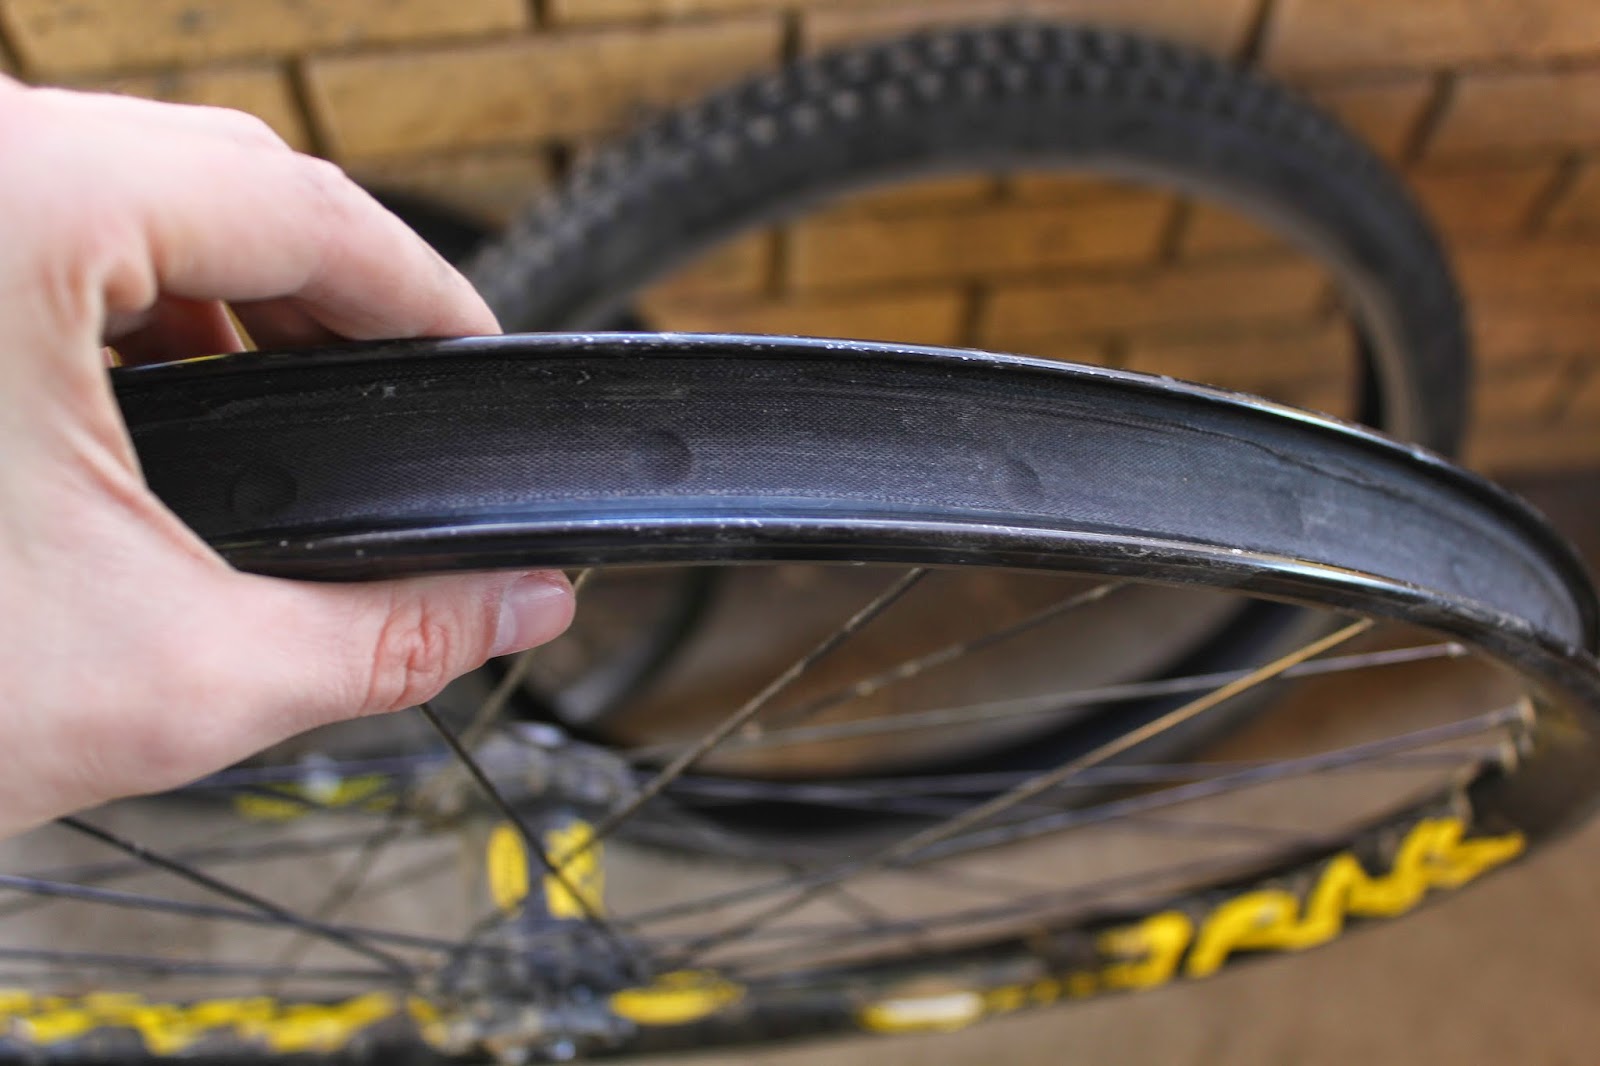
5. Make sure your new wheel has rim tape on the inside of the rim. Rim tape covers the spoke holes to stop the inner tube from puncturing on the sharp edges. Rim tape can be purchased from a bike shop, or you can use electrical tape or a narrow cloth tape.
 |
| Step 6. Photo by Steven Rummukainen |
6. Grab your tyre as putting the tyre on is the next step. Maxxis make some great tyres and have long been a favourite of mine. Start by just getting one bead (side) of the tyre onto the rim. Once this is done, grab your tube and put it snugly into the tyre, making sure the valve goes through the valve hole in the rim.
 |
| Step 7. Photo by Steven Rummukainen |
7. Work the second bead of the tyre onto the rim. Remember to use your hands for this process - using a tyre lever to get the bead onto the rim will usually result in the lever pinching the inner tube and puncturing it! The very last bit of the bead can be tricky to mount onto the rim, but with some persistance you'll get there.
 |
| Step 8. Photo by Steven Rummukainen |
8. Bolt your disc rotor back onto the wheel. Make sure your rotor is facing the right way around - there are markings on it to indicate this.
 |
| Step 9. Photo by Steven Rummukainen |
9. Pump the tyre up to your recommended or desired pressure. If you're unsure what pressure to inflate your tyre to, check the markings on the edge of the tyre - you'll find the recommended pressure there.
 |
| Step 10. Photo by Steven Rummukainen |
10. Mount the wheel back on and tighten up your axle. Spin the wheel and check everything's working well - if your brake drags and you need to realign the caliper, check our article
here. Otherwise, enjoy your new wheel or tyre!


No comments:
Post a Comment